Table of Contents
Key Takeaways
- HD makeup with finely milled pigments photographs more naturally than traditional formulas under magnification
- SPF in foundation causes flashback in flash photography; use SPF-free foundation for events with flash
- Contour should be slightly more defined than daily wear because cameras flatten facial features
- Different lighting types (natural, flash, indoor warm, overhead) require different makeup approaches
- Skin prep accounts for 80 percent of how makeup photographs; hydration and gentle exfoliation are key
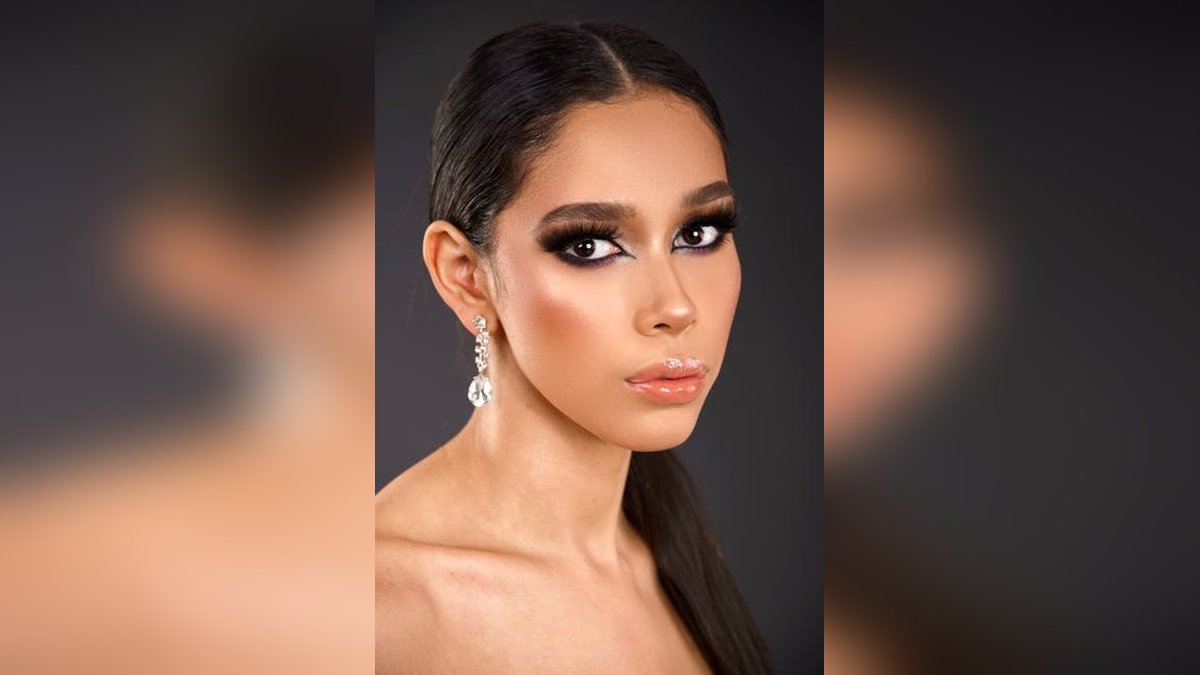
Event photography captures moments that last a lifetime, but the camera does not see makeup the way the human eye does. High-definition cameras, flash photography, and varied lighting conditions each alter how makeup appears in the final image. What looks natural in your bathroom mirror can look completely different in a professional photograph.
Photo-ready makeup requires understanding the science of how different products interact with light, how cameras interpret color and texture, and how to adjust your technique for specific lighting environments. These principles apply whether you are the subject of professional wedding photography, attending a gala with flash-heavy event photographers, or simply want to look your best in social media photos.
HD and 4K Makeup Techniques
High-definition cameras capture detail that standard definition cameras miss, including the texture of foundation, the edges of blush, and the fine particles of shimmer. This level of detail demands different product choices and application techniques. HD makeup products are formulated with micronized pigments that are 50 to 80 percent smaller than standard pigments, allowing them to lie flat on the skin rather than sitting on top of it like a mask.
Application technique matters more with HD makeup because the camera will reveal every line of demarcation. Use a damp beauty sponge to apply foundation in thin, building layers rather than one thick coat. Stipple the product into the skin rather than sweeping or dragging. Blend foundation well past the jawline onto the neck, and blend eyeshadow edges until no sharp lines remain. Set with a finely milled translucent powder applied with a velour puff and pressed into the skin rather than brushed on. The goal is makeup that looks like skin, enhanced but not obviously coated.
SPF Flashback: Causes and Solutions
SPF flashback occurs when mineral sunscreen ingredients, zinc oxide or titanium dioxide, reflect the camera flash back toward the lens, creating a white or pale cast on the face. This effect is most noticeable in dimly lit venues where the camera flash is the primary light source. The white cast can make the subject look washed out, ghostly, or distinctly lighter than the rest of their body.
The first solution is to avoid SPF in your foundation and face products for events where flash photography will be used. Use a foundation without SPF on your face and reserve SPF protection for your neck, chest, and exposed arms. If you must have some sun protection, use a chemical sunscreen (avobenzone, octinoxate, octisalate) that absorbs UV rather than reflecting it, as chemical sunscreens do not cause flashback. Always test your full routine under a camera flash a week before the event, taking test photos with and without flash, to confirm there is no flashback from your specific product combination.
Contour and Highlight for Photography
Cameras flatten three-dimensional features into two-dimensional images, which means the contour and highlight that looks subtle in person may disappear entirely in photographs. For photo-ready makeup, contour and highlight should be slightly more defined than what looks natural in daily wear.
Choose a contour product one to two shades darker than your skin tone with a cool undertone that mimics natural shadow. Apply contour in the hollows of the cheeks, starting from the ear and blending toward the corner of the mouth. Apply along the jawline to define the chin, on the temples to slim the forehead, and on the sides of the nose to narrow the bridge. Blend thoroughly with a damp sponge or dense brush, but leave slightly more product visible than you would for daily wear. For highlight, choose a finely milled powder or cream that gives a natural sheen rather than visible glitter. Apply to the highest points of the cheekbones, the bridge of the nose, the cupid's bow, the brow bone, and a small amount on the chin. The camera will pick up the highlight and add dimension that prevents the face from looking flat.
Makeup for Every Lighting Type
Different lighting conditions change how makeup appears, and an event venue often has multiple lighting types throughout the day and evening. Understanding these variations helps you prepare a look that works across all conditions.
Natural daylight is the most forgiving lighting and shows true color. Minimal product looks best in natural light. Use medium coverage foundation, subtle contour, and natural-toned blush. Avoid heavy powder that can look cakey in direct sunlight.
Flash photography requires avoiding SPF and using warm-toned products to prevent the washed-out effect. Bronze the perimeter of the face slightly. Use a foundation shade that is half a shade warmer than your daily shade.
Indoor warm lighting (incandescent, candlelight) neutralizes cool tones. Warm blush and bronzer are essential to avoid looking flat. Avoid cool-toned eyeshadows that can disappear against warm light.
Harsh overhead lighting casts shadows under the brows, nose, and chin. Blend concealer and foundation well into these shadow-prone areas. Use a brightening concealer under the eyes and on the chin to counteract downward shadows.
"The biggest difference between makeup for daily wear and makeup for photography is the amount of product used. Most people use too much foundation for photography. The camera magnifies everything, so a medium coverage foundation applied in thin layers looks like full coverage on camera, while a full coverage foundation applied in one thick layer looks like a mask. Trust the camera to pick up more than you think it will."
Frequently Asked Questions
Common questions about makeup for photography
What is HD makeup and how is it different from regular makeup?
HD makeup uses finely milled pigments designed to blend seamlessly into the skin rather than sit on top of it. Regular makeup can look obvious in high-definition photography because the pigments are larger and reflect light unevenly. For events with professional photography, HD makeup is strongly recommended.
How do I avoid looking washed out in flash photography?
Avoid SPF in foundation, as mineral sunscreens cause flashback. Use a foundation without SPF for the event. Use a truly translucent setting powder. Bronze the perimeter of your face to add warmth. Bring your foundation shade half a shade warmer for evening events with flash.
What is the best contour technique for photography?
For photography, contour should be slightly more defined than what looks natural in person because the camera flattens features. Use a cool-toned contour one to two shades darker than your skin tone. Apply in the hollows of the cheeks, along the jawline, and at the hairline.
How does makeup need to change for different lighting?
Natural daylight is most forgiving with minimal product. Flash requires avoiding SPF and using warm tones. Indoor warm lighting neutralizes cool tones, so use warm blush and bronzer. Harsh overhead lighting requires extra blending into shadow-prone areas.
What are the top makeup artist secrets for photo-ready skin?
Skin prep is 80 percent of the result. Use thin layers applied with a damp sponge. Use setting spray between layers. Dust translucent powder only on the T-zone. Highlight only the highest points of the face for dimension.
Related Articles
Your Next Step
Test your full event makeup look under every lighting type you will encounter: natural daylight, indoor warm light, and camera flash. Take test photos with a friend's phone or a professional camera to see how the makeup reads in each condition.
Adjust your foundation shade, contour intensity, and powder amount based on what the test photos reveal. A makeup look that passes the photo test will give you confidence that you look your best regardless of the lighting conditions at your event. For more beauty guidance, explore our All Articles.